

Updating your kitchen or bathroom on a budget can feel daunting when you want impressive results without permanent changes. For DIY home decor fans across the United Kingdom, peel-and-stick tiles offer an affordable and stylish way to refresh your space. By using systematic cleaning and surface preparation techniques, you set the foundation for tiles that look professional and stay securely in place. This guide covers the practical steps needed for a flawless finish, from preparation through final inspection.
Table of Contents
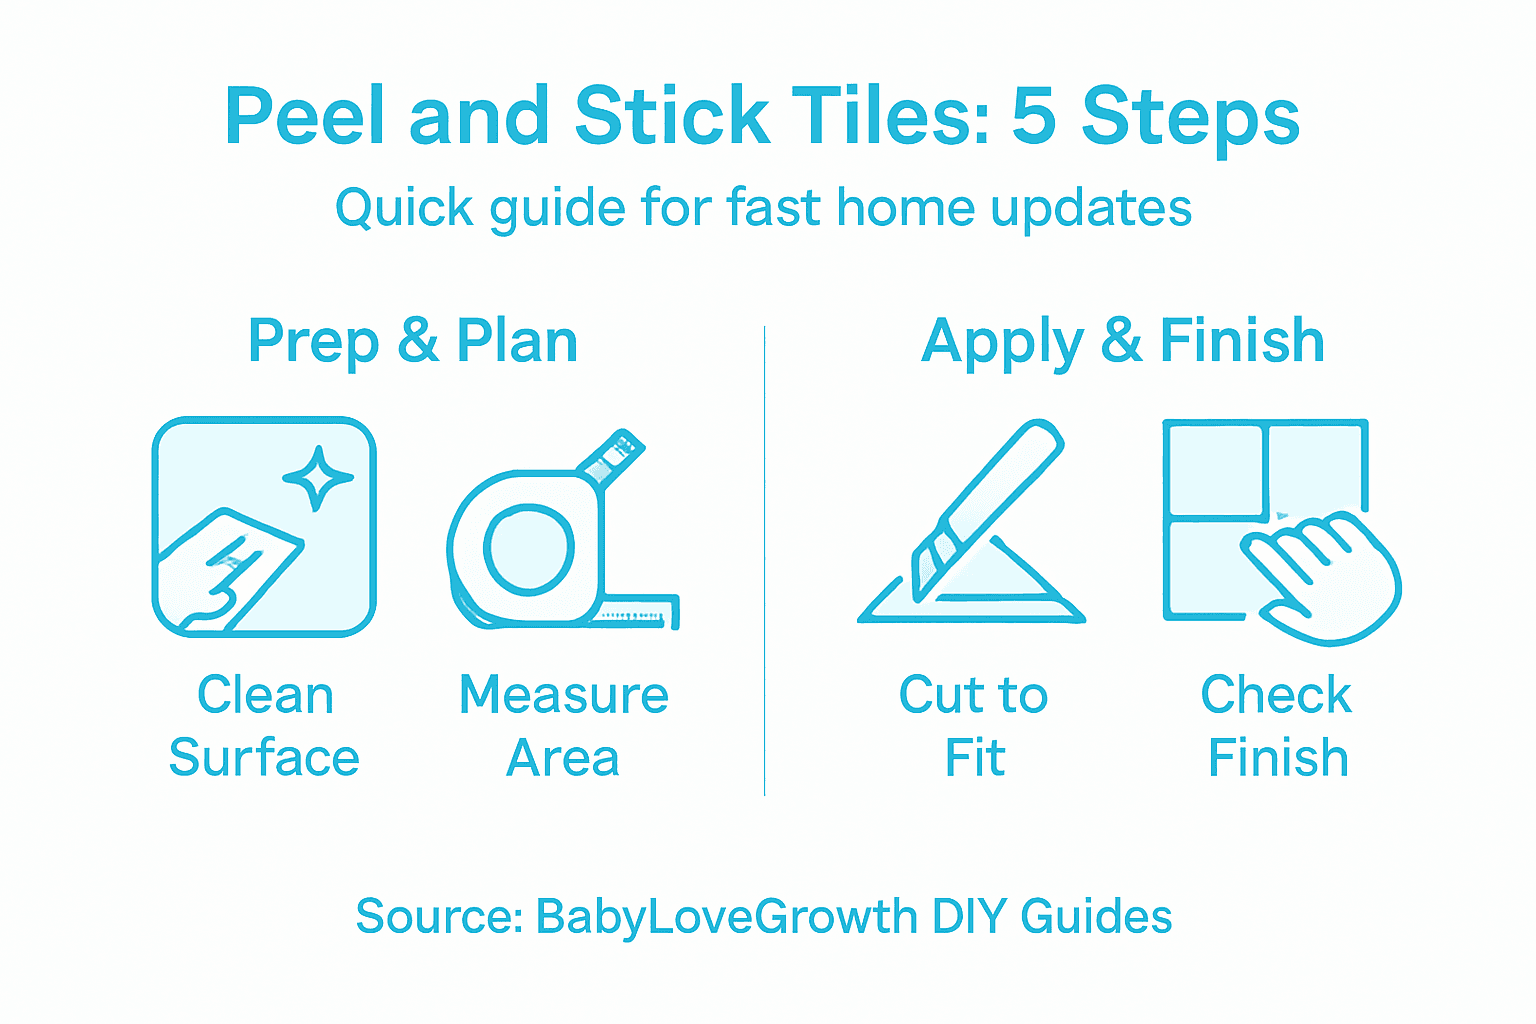
- Step 1: Prepare and Clean Your Chosen Surfaces
- Step 2: Measure and Plan Tile Sticker Placement
- Step 3: Cut and Customise Tile Stickers as Needed
- Step 4: Apply Peel and Stick Tiles Smoothly
- Step 5: Check for Secure Adhesion and Perfect Finish
Quick Summary
| Key Insight | Explanation |
|---|---|
| 1. Thoroughly clean surfaces | Remove all dust, grease, and old materials to ensure proper tile adhesion. |
| 2. Measure accurately | Precise measurements prevent mistakes and ensure enough tiles are purchased. |
| 3. Customise tiles carefully | Use sharp tools for clean cuts and to fit around obstacles accurately. |
| 4. Apply tiles methodically | Start from a reference point to maintain alignment and prevent air bubbles. |
| 5. Inspect for adhesion | Check for secure tile placement and remove bubbles for a professional finish. |
Step 1: Prepare and Clean Your Chosen Surfaces
Creating a pristine surface is crucial before applying your peel-and-stick tiles. The preparation stage ensures your new decorative elements adhere perfectly and look professionally installed. You’ll want to invest some time in thoroughly cleaning and preparing the surface to guarantee a smooth, long-lasting result.
Begin by removing any existing debris, dust, or loose materials from your chosen area. This means using a soft cloth or scraper to gently remove any old adhesive residue, paint flakes, or accumulated grime. For kitchen and bathroom surfaces, you’ll need to be particularly meticulous – these areas often have grease, soap scum, and moisture buildup that can interfere with tile adhesion. Household surface cleaning guidelines recommend a systematic approach to ensure optimal preparation.
Your cleaning process should involve several key steps:
- Sweep or vacuum the surface to remove loose dirt
- Wash thoroughly with warm water and mild detergent
- Rinse completely to remove all soap residues
- Dry the surface using a clean, lint-free cloth
- Inspect for smoothness and address any uneven areas
When working with tiles for areas like kitchens or bathrooms, you’ll want to use a degreasing cleaner that cuts through any oily residues. Ensure you’re working in a well-ventilated space and wearing protective gloves. Allow the surface to dry completely – any moisture can compromise the adhesive’s effectiveness.
Here is a helpful summary of cleaning products suited for different surfaces when preparing for tile application:
| Surface Type | Best Cleaning Product | Reason for Use |
|---|---|---|
| Painted walls | Mild detergent & water | Protects paint from damage |
| Kitchen backsplash | Degreasing cleaner | Removes stubborn grease |
| Bathroom tiles | Non-abrasive cleaner | Avoids scratching surfaces |
| Worktops | Isopropyl alcohol | Ensures residue-free finish |
| Plaster or drywall | Soft cloth & detergent | Prevents surface crumbling |
Moisture is the enemy of perfect tile application. Always ensure surfaces are bone-dry before proceeding.
Expert tip: Use isopropyl alcohol as a final wipe-down to remove any remaining oils or invisible residues that might prevent perfect tile adhesion.
Step 2: Measure and Plan Tile Sticker Placement
Successfully transforming your space with peel-and-stick tiles starts with precise measurement and strategic planning. Your goal is to create a professional-looking finish that appears seamless and intentional, requiring careful preparation before applying a single tile.
Begin by thoroughly measuring your surface area, using a metal tape measure for accuracy. Precise tile installation techniques recommend creating a detailed layout before cutting or placing any tiles. Sketch out your space on graph paper, marking exact dimensions and noting any obstacles like electrical outlets, switches, or cabinetry that might interrupt your tile pattern.
Your measurement and planning strategy should include:
- Measure twice before cutting any tiles
- Calculate total area to determine tile quantity needed
- Plan for pattern alignment across the entire surface
- Account for edges and corners in your initial measurements
- Create a mock layout using painter’s tape to visualise tile placement
When measuring, always round up slightly to ensure you have enough tiles to complete the project. Kitchen and bathroom surfaces often have unique configurations, so take time to measure each section carefully. Pay special attention to areas around sinks, cookers, or bathroom fixtures where precise cutting might be required.
Accurate measurements are the foundation of a professional-looking tile installation.
Expert tip: Use a laser measurement tool for complex spaces to guarantee precise, millimetre-perfect measurements and reduce human error.
Step 3: Cut and Customise Tile Stickers as Needed
Customising peel-and-stick tiles is an essential skill that transforms your DIY project from good to professional-looking. You’ll need precision, patience, and the right tools to create a seamless finish that looks like it was installed by an expert.
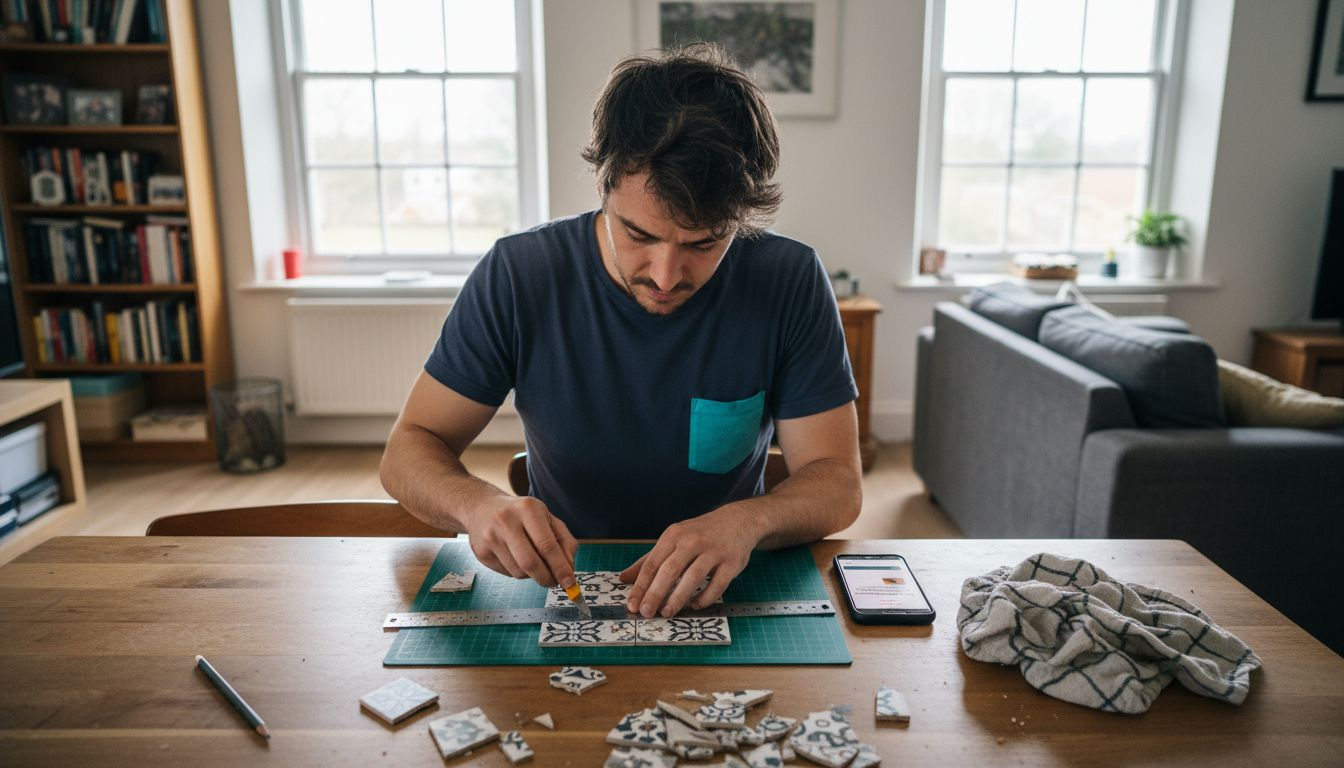
Before cutting, gather your essential tools: a sharp utility knife, metal ruler, cutting mat, and measuring tape. Tile customisation techniques recommend warming tiles slightly with a hairdryer to make them more pliable and easier to cut. This small trick can help prevent cracking and ensure cleaner edges.
Your cutting strategy should include:
- Measure precisely before making any cuts
- Use a sharp utility knife with a fresh blade
- Cut on a protective cutting mat
- Score gently first, then cut through in a second pass
- Test fit each custom tile before final placement
Special attention is crucial when cutting around electrical outlets, sink edges, or complex architectural features. Take your time and make multiple light passes with your knife rather than trying to cut through in one aggressive stroke. For curved or intricate cuts, consider using sharp scissors or specialised tile-cutting tools.
Precision in cutting determines the professional quality of your tile installation.
Expert tip: Always keep a spare utility knife blade on hand and replace it at the first sign of dulling to maintain crisp, clean cuts.
Step 4: Apply Peel and Stick Tiles Smoothly
Successfully applying peel-and-stick tiles requires patience, precision, and a methodical approach. Your goal is to create a flawless finish that looks professionally installed, without unsightly air bubbles or misaligned edges.
Tile application techniques recommend starting from one edge and working gradually across the surface. Partially peel back the adhesive backing, allowing you to position the tile precisely before fully committing. This approach gives you more control and helps prevent immediate, irreversible placement.
Your application strategy should include:
- Start at a corner or central reference point
- Peel backing gradually to maintain alignment
- Press firmly from the centre outwards
- Use a squeegee to eliminate air bubbles
- Check alignment after each tile placement
Work systematically and avoid rushing. For complex areas like corners or around electrical outlets, take extra time to ensure precise positioning. When pressing tiles, use consistent, even pressure across the entire surface. A plastic squeegee or credit card can help smooth out any stubborn air pockets.
Patience during application determines the quality of your final result.
Expert tip: Keep a clean, lint-free cloth nearby to quickly wipe away any dust or fingerprints during the application process.
Step 5: Check for Secure Adhesion and Perfect Finish
The final stage of your peel-and-stick tile project involves ensuring a professional, long-lasting installation. Your careful inspection will prevent future issues and guarantee a stunning transformation of your space.
Surface adhesion techniques recommend thoroughly checking each tile’s attachment and overall appearance. Begin by running your hand gently across the entire surface, feeling for any loose edges or uneven sections that might require additional attention.
Your final inspection checklist should include:
- Check tile edges for complete adhesion
- Eliminate any remaining air bubbles
- Verify pattern alignment across the entire surface
- Test tile edges with light pressure
- Inspect for any dust or fingerprints
Pay special attention to high-moisture or high-traffic areas like kitchen splashbacks and bathroom walls. These zones require extra scrutiny to ensure tiles remain securely attached. If you discover any imperfections, gently press tiles again or use a hairdryer to warm the adhesive and improve bonding.
Thorough inspection is the difference between an amateur and a professional-looking installation.
Expert tip: Wait 24-48 hours after installation before exposing the surface to water or heavy cleaning to allow maximum adhesive curing.
Below is a comparison of tools used in each step of peel-and-stick tile installation:
| Step | Essential Tool | Main Purpose |
|---|---|---|
| Surface preparation | Lint-free cloth | Removes dust and moisture |
| Measuring and planning | Metal tape measure | Achieves precise surface measurement |
| Cutting tiles | Utility knife & mat | Ensures clean, accurate cuts |
| Application | Squeegee or credit card | Smooths out bubbles and wrinkles |
| Inspection | Hairdryer | Improves tile bonding if necessary |
Transform Your Space Quickly and Flawlessly with Peel and Stick Tiles
If you have ever struggled with achieving perfect surface preparation or precise tile placement, you are not alone. This article highlights common challenges like ensuring surfaces are thoroughly cleaned and dry, measuring accurately, and cutting tiles to fit complex areas. These hurdles can often cause frustration or delay your home upgrade projects. Fortunately, The Tile Sticker Company UK offers a wide selection of high-quality peel-and-stick tile decals that make your DIY journey smoother and more rewarding.
Explore modern and timeless designs crafted right here in the UK that feature waterproof, oil-proof, and durable materials designed for effortless trimming and application. Whether you want to refresh your kitchen splashback or add character to your bathroom walls, you can count on products that stick securely without professional installation. Visit The Tile Sticker Company today and embrace a quick, affordable, and stunning transformation. Start your hassle-free upgrade now and enjoy free shipping coupled with secure payments on every order.
Frequently Asked Questions
How do I prepare surfaces for peel-and-stick tiles?
To prepare surfaces for peel-and-stick tiles, start by cleaning them thoroughly to remove dust, dirt, and old adhesive. Sweep, wash with warm soapy water, rinse, dry, and ensure the surface is smooth before applying tiles.
What tools do I need for cutting peel-and-stick tiles?
For cutting peel-and-stick tiles, you’ll need a sharp utility knife, a metal ruler, a cutting mat, and measuring tape. Gather these tools to ensure clean, accurate cuts for your project.
How can I ensure my peel-and-stick tiles adhere properly?
To ensure proper adhesion, make sure your surfaces are completely dry and free of any residue before applying tiles. After placement, press down firmly from the centre outward to eliminate air bubbles, creating a strong bond.
What is the best way to layout my peel-and-stick tiles?
The best way to layout your peel-and-stick tiles is to measure your area precisely and plan your pattern in advance. Use painter’s tape to create a mock layout on the wall or surface to visualise how the tiles will fit before installing.
How can I fix air bubbles under my peel-and-stick tiles?
To fix air bubbles under your peel-and-stick tiles, gently lift the corner of the tile and push the bubble towards the edge while pressing down. If the bubble persists, use a small pin to puncture it, then press out the air and smooth the tile back down.
How long should I wait before cleaning my tiles after installation?
You should wait 24 to 48 hours after installing peel-and-stick tiles before exposing them to water or heavy cleaning. This allows the adhesive to cure fully, ensuring a durable and long-lasting finish.
Recommended
- MODERN Self Adhesive Wall Tiles Stickers – 18 PCS Moroccan Mosaic Style Kitchen Wall Art DIY Tiling Traditional Vintage Design Peel and Stick Tile Paint Stick on Tiles | The Tile Sticker Company
- Bathroom Tile Sticker | The Tile Sticker Company
- Tile Sticker UK | The Tile Sticker Company
- 20pcs Black Gold Green Blue Grey Art Deco Mosaic Tile transfers Stickers Modern Wall Art Room Decor Bathroom backsplash Kitchen Victorian Peel and Stick self Adhesive Vinyl | The Tile Sticker Company

